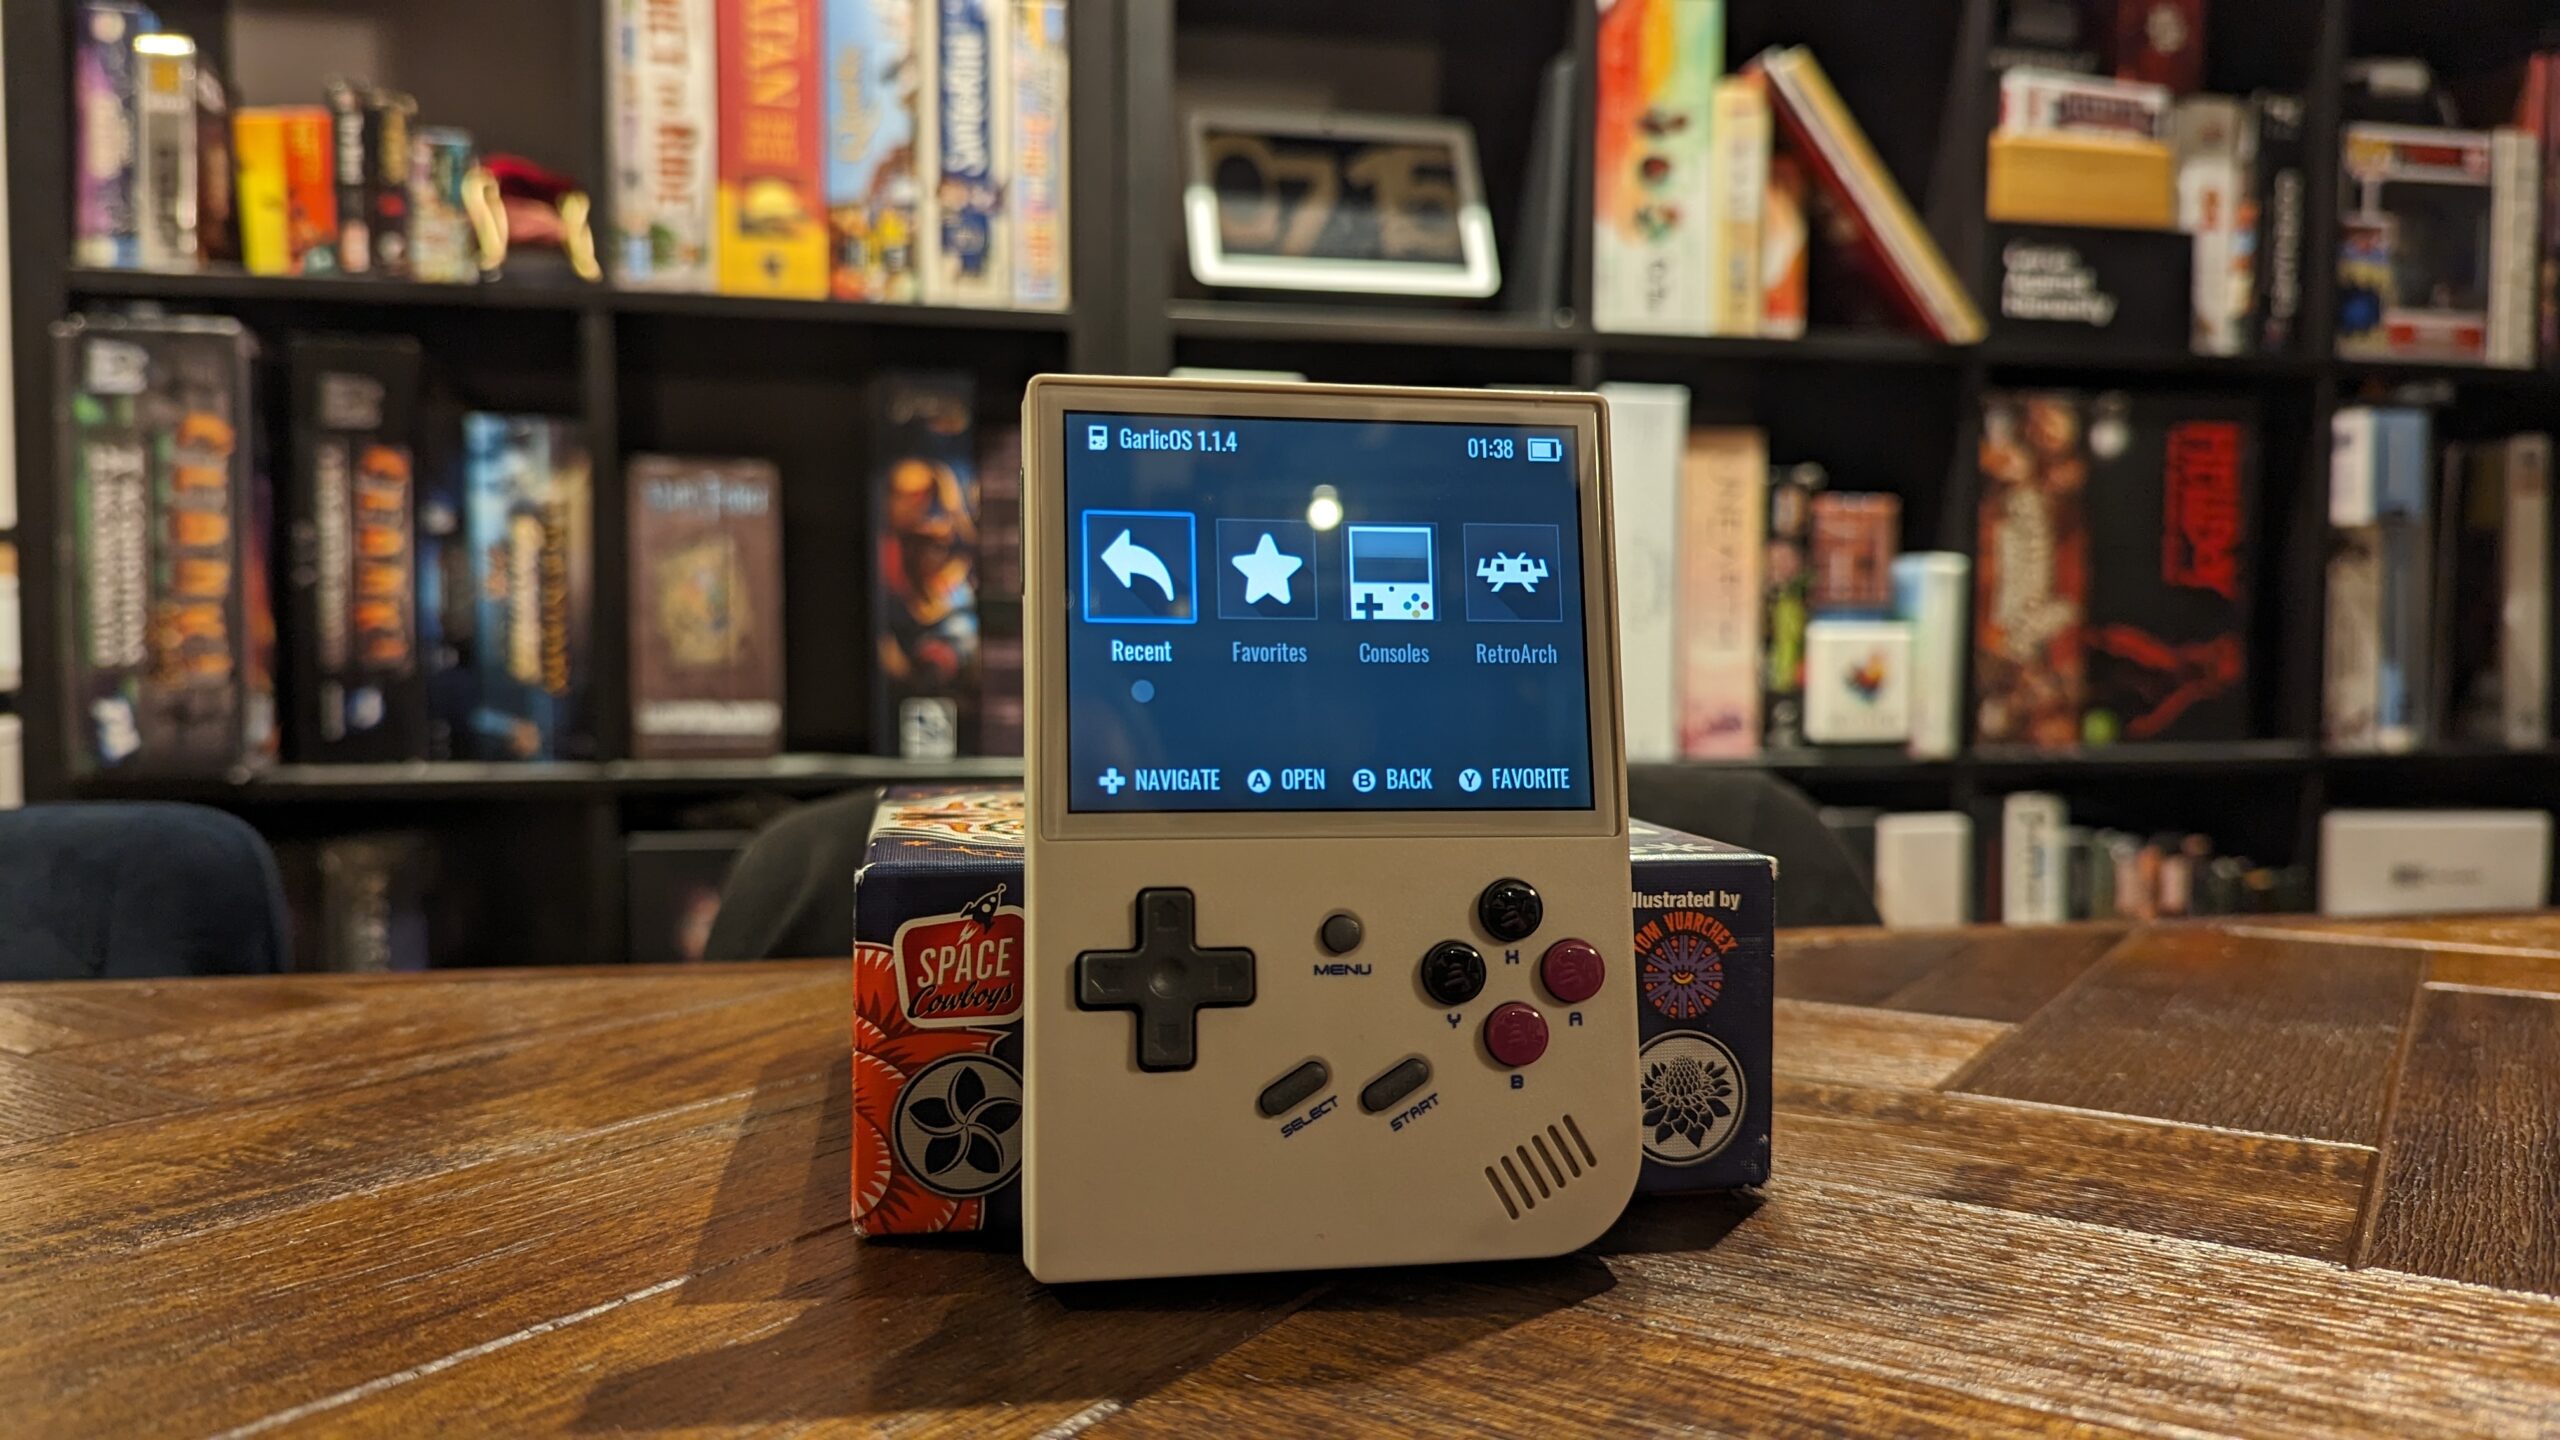
The Anbernic RG35xx is one of the coolest little devices that I’ve seen. In a sleek form factor that looks like if the Gameboy Colour was released today, but without the need for cartridges. Slightly thicker than a smart phone, I find it easily pocketable, and sturdy enough that it might survive a fall from a table. The LCD screen is beautiful, which might feel wrong for a retro emulation device, but that is easily remedied. With GarlicOS, you can put all sorts of filters on at the software level, and set the filter to apply to all games on a specific console. For example, you can make all classic GameBoy games have the mono colour green screen with accurate enough pixel simulation to scratch even the deepest of nostalgia itches. CRT Scan Lines your jam? You can do that! You get an incredibly versatile and customisable gadget for about $100 AUD, which is awesome value!

Hardware
Boasting two MicroSD card slots that can each facilitate a 512Gb card, more than enough storage to hold every Nintendo game made up until the Nintendo 64, and still have room left over for chunky PS1 games.

The button layout is very clever too, with all the function of a PS1 controller, packed onto a handheld, so A, B, X, Y, Start, Select, L1, L2, R1, R2 and a D-Pad.


The the buttons that you won’t find on a PS1 controller, but you will find here, are Volume +/-, a reset switch, the power button, and the Menu button. The mono speaker is surprisingly good, and replicates classic console bit tunes wonderfully.

Going on with I/O, the RG35xx has an internal 2600mAh battery and charges with USB Type-C. I’d go easy with any fast chargers, as the RG35xx doesn’t support them. You will also find a 3.5mm headphone jack, which we can’t take for granted anymore, and HDMI out on the top edge of the unit, which does support audio over HDMI, so you can play this thing on the TV!
Software
Now that we’ve covered the physical of the device, lets talk software. If you buy one today, you will likely get a unit that already has GarlicOS, an offshoot of the incredibly popular OnionOs, already installed, along with about 45gb worth of ROMs. This is great as it is the operating system that I would recommend, but I wouldn’t trust the MicroSD card Anbernic provides as far as I could throw it. Replace this as soon as you’re able to. Wouldn’t want to lose all your precious save data because of a poor quality storage device.

The storage layout for the RG35xx is such that you can run it with a single MicroSD card, with the host OS (GarlicOS) and the ROMs (all your games) all stored on one card, which can be convenient for setting up. If you want a more set and forget option, you can put the OS on a lower capacity SD card in the TF1/INT slot and put all your ROMs on a much larger capacity SD card in the TF2/INT slot, meaning that you don’t need to reflash the OS if you want to increase your ROM card’s capacity. This is my recommended set up.
Set Up – Preamble
Based on my recommendations laid out in the software section above, we’ll use the smallest MicroSD card we can find from a reputable brand, 8Gb or 16gb if you can get it, to install our OS on, and a larger capacity MicroSD card for our ROMs. On the day that I went to OfficeWorks, they didn’t have and 8Gb, 16Gb or even 32Gb cards, so my OS MicroSD is a complete and total overkill 64Gb Sandisk Extreme, and my ROMs are on a 128gb Sandisk Extreme Pro, because they’d run out of 128Gb non-Pro Sandisk Extreme. Not ideal for my wallet, but I’ll live with it.
Based on what I could get at the time, this is what I needed to set up my RG35xx:
- 1 Anbernic RG35xx
- 1 64Gb Sandisk Extreme MicroSDXC card
- 1 128Gb Sandisk Extreme Pro MicroSDXC card
- 1 SD or MicroSD card reader (2 readers if ya fancy)
- 1 computer with an internet connection
- 7zip
- Belena Etcher
- MiniTool Partition Wizard
I have a Windows laptop with an integrated MicroSD reader, so that is what I used to set up my RG35xx.
Set Up – Process
So to begin the set up process head to Black-Seraph’s Patreon, the creator of GarlicOS, here, scroll all the way down to the bottom of the post and download the two files called “RG35XX-MicroSDCardImage.7z.001” and “RG35XX-MicroSDCardImage.7z.002“. You need both of them.

Once you have both of them (it’s important they’re in the same folder) in your downloads folder, or wherever you are downloading them to, use 7zip (linked above) to extract them. I recommend using the [Extract to “*\”] option, as that will create a new folder in the current folder with the extracted contents of the two files. Now you should have a folder that has the [garlic.img] in it.

Now you should insert the MicroSD card that the operating system is going on, the smaller capacity of the two MicroSD cards, into your SD card reader, using the aforementioned MicroSD card to SD card adapter if necessary, and plug that into your computer.
Next we will open up Belena Etcher and hit the [Flash from file] button. This will bring up an explorer window. Navigate to the folder where you extracted the [garlic.img] image and select open on that file.

Next VERY CAREFULLY select the SD card. Mine showed up as [SDXC Card] in Belena Etcher. Do not select your computer’s hard drive or another external drive that you have attached. That would be a very bad time.

Once you are 100% sure you have the correct storage device, hit the blue [Select 1] button, and finally the blue [Flash!] button.

You will see Belena Etcher get to work flashing the [garlic.img] image onto the MicroSD card. The last time I did this, Balena Etcher showed an error message, saying that the flashing process had failed, but it had actually succeeded, so if you see a bunch of new labeled drive, like D:\ E:\ F:\ G:\ show up on your PC, it succeeded and you can close out Belena Etcher.
Important note: Drives E:\ and F:\ will probably come with warnings saying [You need to format the disk drive E: before you can use it.] Don’t format those. They’re necessary partitions for GarliOS and it won’t function properly without them, so just hit [Cancel] to close them out.

If you don’t get the drives popping up saying they’ve connected, it probably means they don’t have a drive letter yet. We can open up MiniTool Partition Wizard and find the disk that has four partitions in it, with a total size of around the SD card’s capacity.

One of those partitions will be formatted as FAT32. Assign a drive letter to it, if it doesn’t already have one, by right clicking on the drive and hitting [Assign Letter]. Whatever drive that is, we’ll use in the next step. MiniTool Partition Wizard will have an [Apply] button in the bottom left, and [Yes] to the [Apply pending changes?] pop up, which you will need to hit for any changes made to take effect. MiniTool Partition Wizard will give you a status display of the changes being made and give you a [Applied all the pending changes successfully.] when done.
Next we’re going to want to save a copy of the contents of the drive that has the folders [BIOS], [CFW], and [Roms], as we’ll be putting those on our second SD card later. I’d recommend saving a copy of those in the folder that contains the folder with [garlic.img] in it.

It’s at this stage, if you’re doing a single SD card set up that you would go back to MiniTool Partition Wizard and expand the FAT32 Drive, as that’s where all your ROMs and Save data would be kept. Right click on the FAT32 Drive and click [Extend].

There will be a slider in the middle of the pop up. Take that slide and pull it all the way to the right, which will give you the full capacity of the unallocated space. Click [OK] to close the pop up, and don’t forget to click [Apply] in the bottom left.

You can now safely remove the first SD card that now officially has your OS on it! If you want to test it out, insert the MicroSD card into the TF1/INT slot gold contacts facing up, and boot up the RG35xx by holding the power button until the GarlicOS logo comes up! If you’re doing a two SD card set up, you won’t need to mess with that SD card again, unless you want to update the firmware!
Now we will insert the second MicroSD card, the larger capacity of the two, and start working on getting it ready for ROMs. Open up MiniTool Partition Wizard again and find out what format the drive is in. If it’s formatted as FAT32, it’s ready to move on. If it’s not formatted as FAT32, right click on the drive in MiniTool Partition Wizard and select [Format]. Give the drive a label, I recommend [ROMS] or [EXT_ROMS] for external ROMs, change the file system drop down to FAT32, and leave the last setting on [Default]. Click [OK] to close out the pop up, [Apply] in the bottom left and [Yes] on the pop up. Let it do it’s thing and then we’ll move on to the next thing.

The next step is to copy the [BIOS], [CFW] and [Roms] folders we saved before onto the drive we just set up at [EXT_ROMS]. Once that is done, it’s ready to have ROMS put on it! If you have your own library of ROMS, feel free to start inserting them into the corresponding system name within the [Roms] Folder.
If you do not already have your own library of ROMs, you can salvage the ROMs that came on the MicroSD card from Anbernic. It’s a tedious process of copying ROMs back and forth between the two MicroSD cards, and I can guarantee you that half of the ROMs that came on the SD card with the RG35xx won’t work. There are a few bangers worth saving though, namely the Simpson Arcade Game for MAME. In the MAME folder, grab the [simpsn2p.zip] and put it in the corresponding MAME2000 folder on your ROMs MicroSD card.
Once you’ve loaded your larger capacity MicroSD with ROMs, safely remove it from your computer and insert it, gold contacts up, into the TF2/INT slot. Make sure that your RG35xx is turn off when you do, or you may crash it. Turn it back on, and you’ll find your games under [Consoles] in the GarlicOS home screen. Each console will have a picture showing what it is, so explore and have fun playing retro games!
Homework
For those that have followed along, I have some homework that you might enjoy. I challenge you to find a theme that you like the look of, apply it to the RG35xx and let me know how it goes!
Conclusion
That’s the technical part all done. There are so many more settings and features that can be tuned and played with. There are tons of fantastic places out there to start building your ROMs Library, and plenty of emulators on Windows, Mac, and Linux to play them on if you don’t end up picking up an RG35xx, but I really do recommend it.
I’ve had mine now for going on 6 months and I adore it. It comes with me everywhere in my bag in case I get stuck somewhere I don’t want to be and need something to occupy my brain. They’d make great presents for someone in your life that loves retro games or wants to get into them, and for $100 AUD plus maybe $50 AUD in MicroSD cards, it’s a really good value.
I hope you enjoyed this. Let me know down below if you did!
Cheers,
Bryce
Leave a Reply
You must be logged in to post a comment.